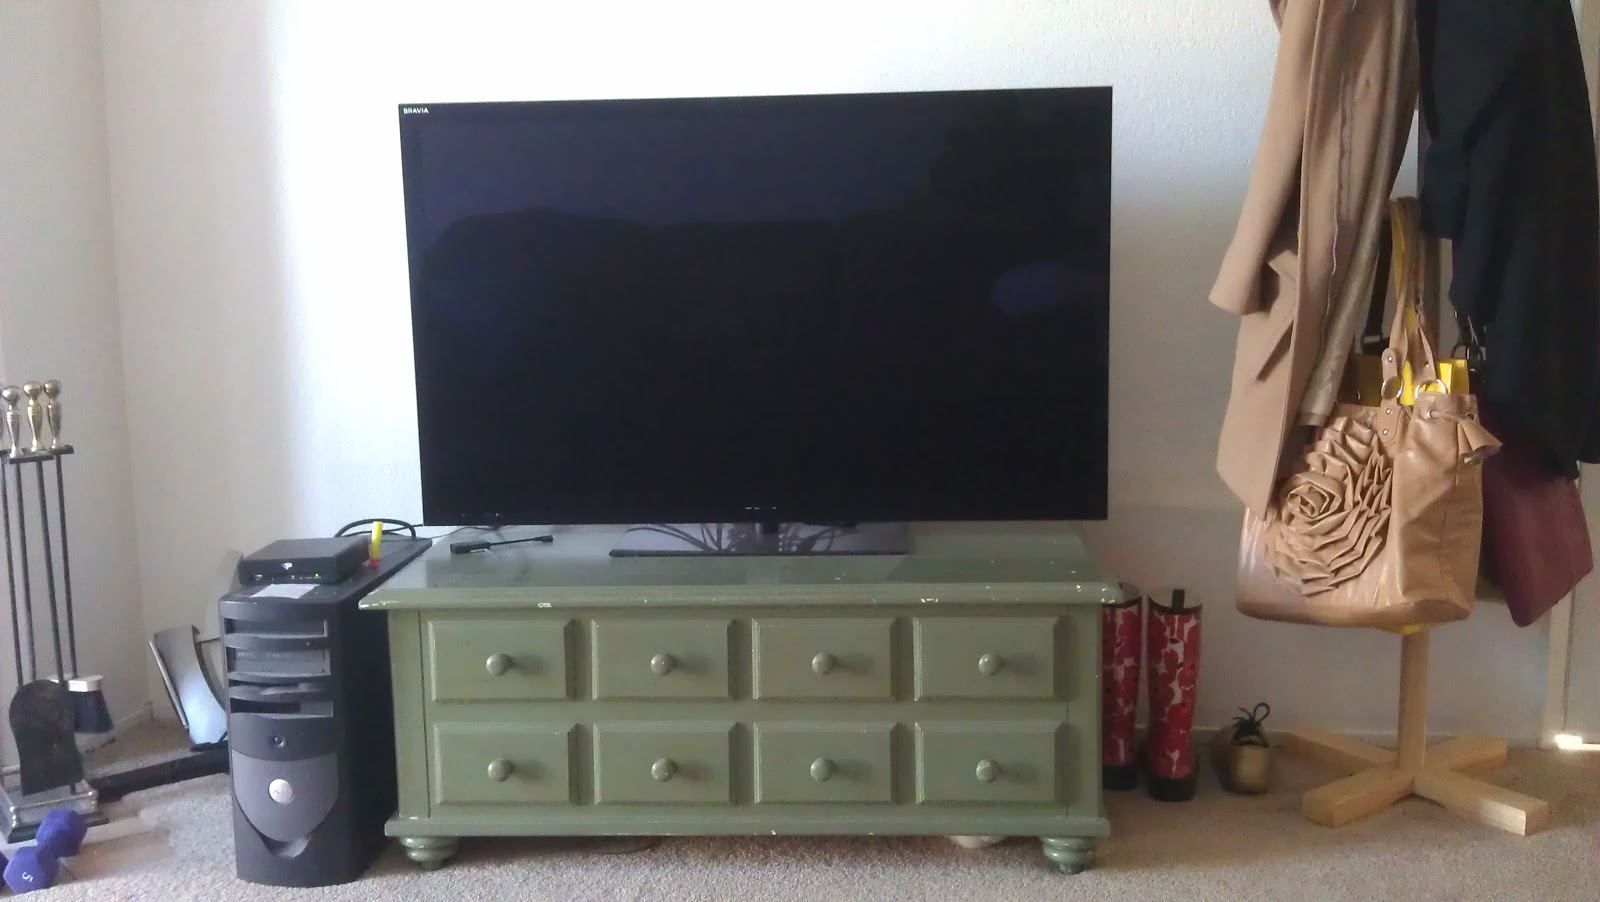
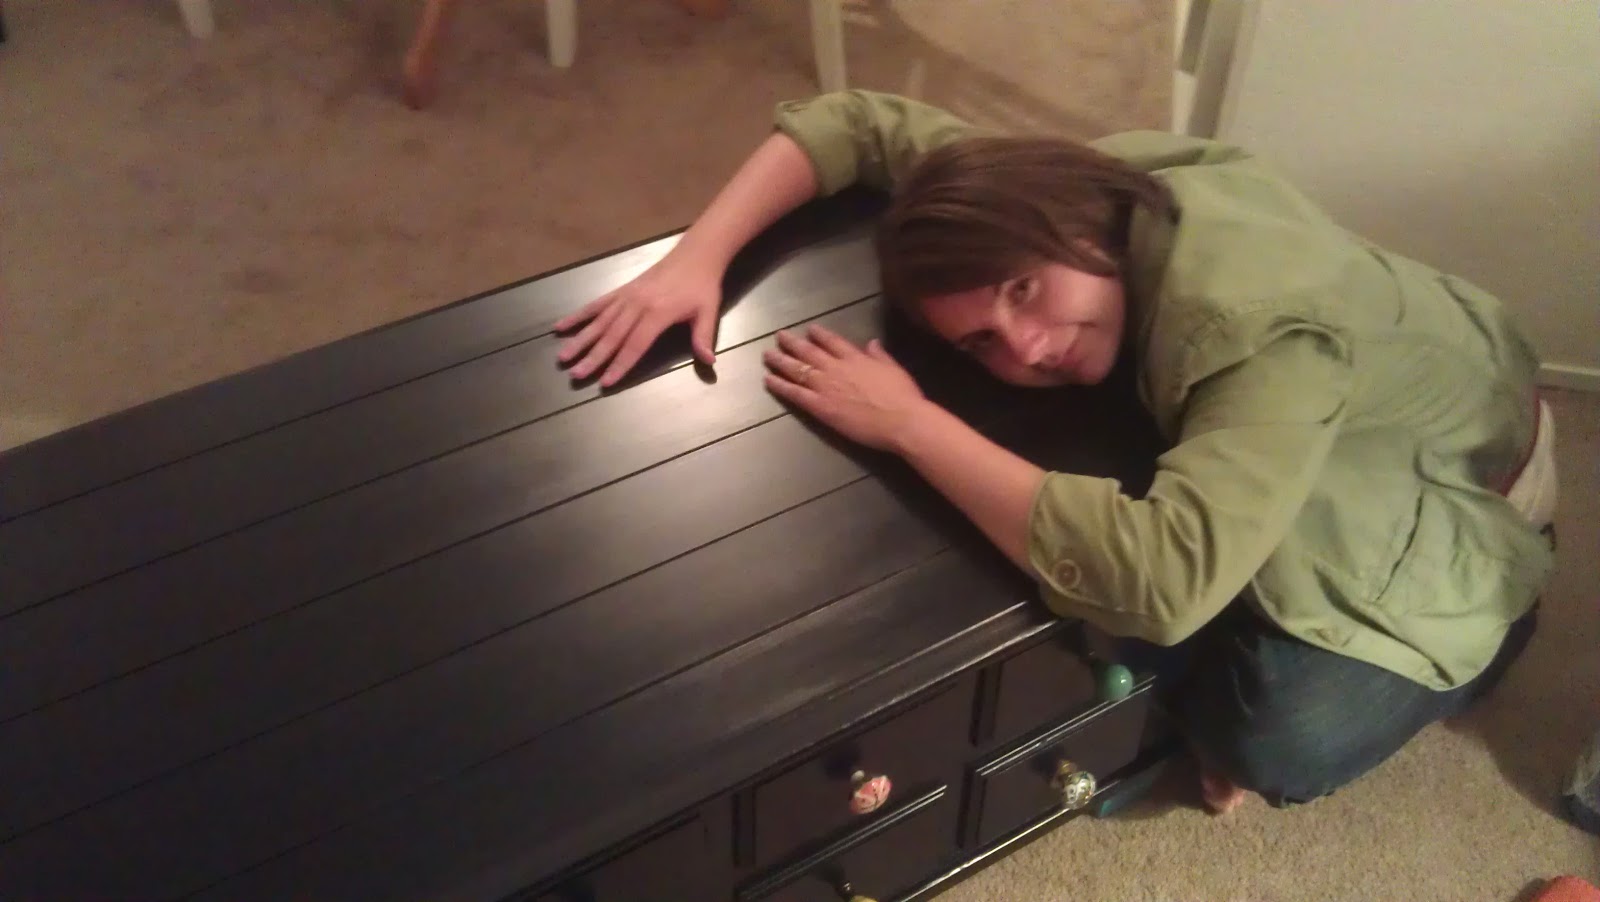
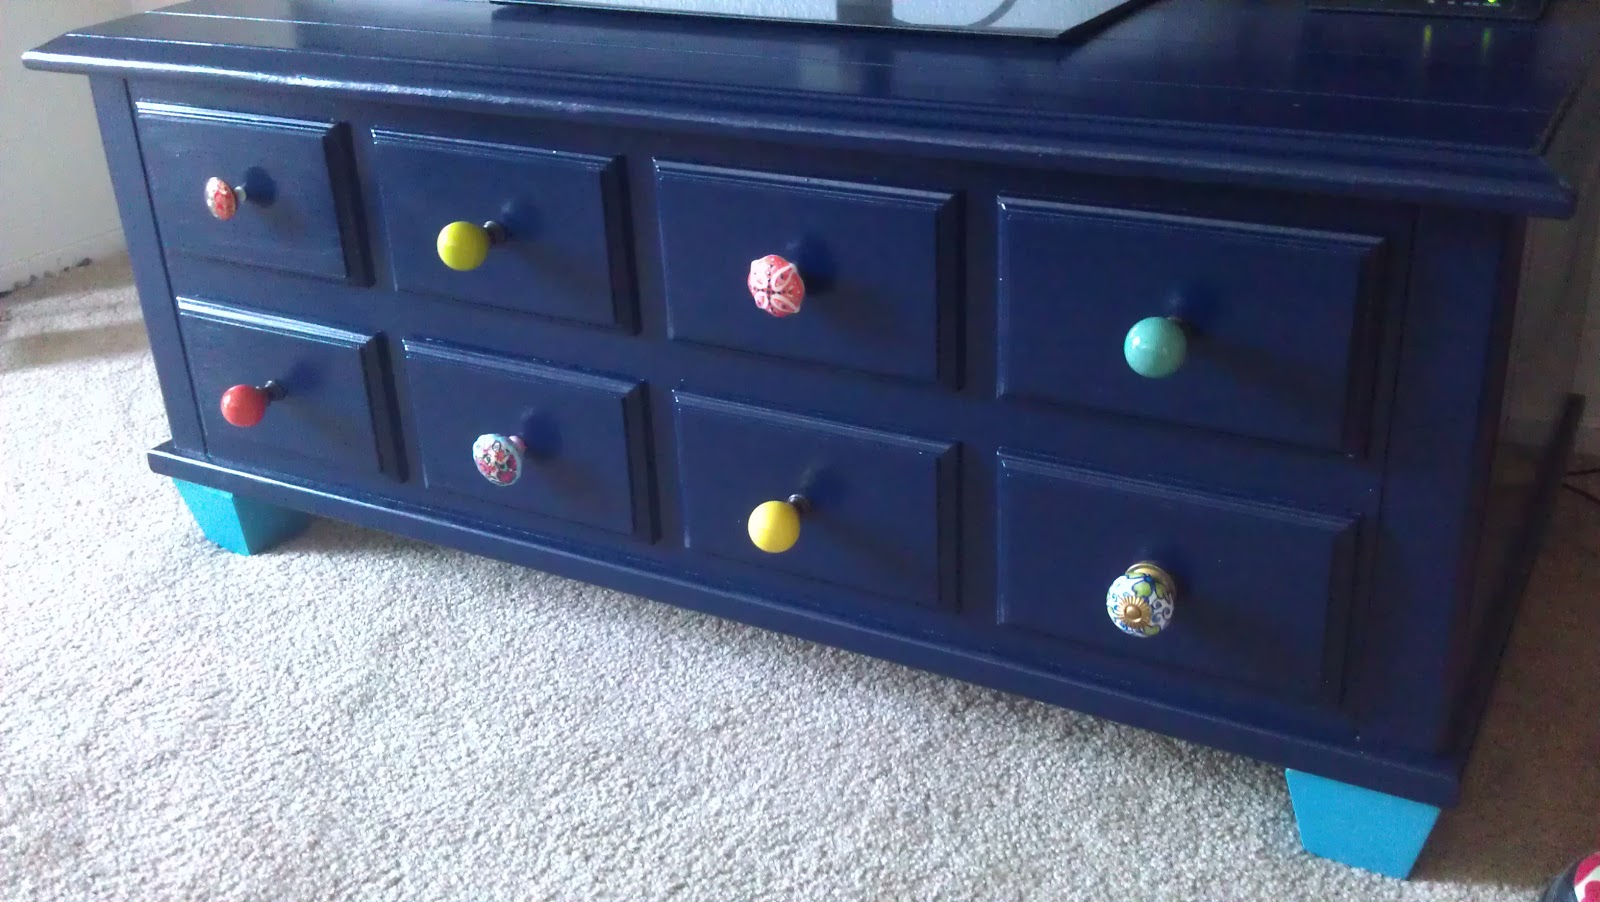
I finally finished my biggest project that I have tried so far. I updated a chest that was Jonathan's parents, but they didn't want any more. I called it the green thing because I wasn't really sure what it was other than green...
I have spent a lot of time on pinterest and I love seeing all of the painted furniture and reading the tutorials. I decided to paint the green thing. I originally thought about painting it a nice creamy off-white color, but after awhile I realized it would just blend in with our white walls and light tan carpets. So, I had to think of a different color... I thought about different shades of grey... but it didn't stick either. Then I knew that it needed to be navy! I talked about doing it and finally started to actually work on it in July.
 |
| Getting ready to move it to my parent's house. |
 |
| All of the random stuff that was in it. |
 |
| Yes, we have a huge tv and can't afford a tv stand. |
After we got the green thing moved out, I started getting just some of the many supplies that I would use for this project. Before anything else could happen, I reattached part of the interior that broke off.
 |
| Wood glue is a wonderful thing! |
I left the chest out in the hot sun and the old green paint got all bubbly and weird. The lesson learned is if you really like a piece of furniture, don't let it cook outside in the sun. Lucky for me, I was going to strip the old paint anyways!
Before:
 |
| Farewell green paint! |
 |
| Ready for some love! |
The paint came off really easily on the lid and three of the sides. Jonathan saw it at this stage and was confused by the stripes.
 |
| The front was the hardest part to strip off the old paint. |
 |
| I spent a few hours on stripping just the front. |
 |
| I used some pretty harsh chemicals to get rid of the old paint. |
Once I was done with all of the stripping and cleaning, I could finally get some paint back onto the chest (at this point it was no longer the green thing). I was really nervous/paranoid about painting. I kept worrying that it would be terrible. (I had these feelings later in the project...)
All prepped and ready to paint!
The primer went on beautifully! I got great coverage with the spray paint and nothing horrible happened!
Next up was the blue. I was again paranoid, so I made my mom supervise me at first and then got comfortable enough to do it all by myself. I was rather concerned when the color was a bright blue rather than navy, but I just kept thinking that it will be better with more coats and I was right.
A few coats later, the chest was navy and gorgeous!
The most anticipating part of this project for me was to find the perfect knobs. From the very beginning of this project, I knew that I wanted the knobs to each be different. Lucky for me, Anthropologie has the perfect knobs for me. They have my favorite colors and some great patterns. This was one part that I knew I needed my mom's help again because she knows my style and she can visualize how the finished product will look.
 |
| These were the possible knobs. |
 |
| These ones made the final cut! |
One of the final steps was to seal the chest. I did a lot of research and because this was going to be our tv stand again, I decided that sealing it would be good to protect the paint on it. I saw one tutorial that used a sponge roller, so I went ahead and used one. I was paranoid about my coats being too thick, so I made sure I only had a small amount of sealer on the roller. It was horrible! There were so many air bubbles on it that it totally changed how the chest looked. It was an ugly blue thing! I didn't take any pictures of the horrible bubbly chest because I was so distraught! My mom came out and helped me sand down the bubbles and then put a fresh coat of paint.
 |
| Re-sanding the chest. |
The second time we applied the sealer, we used a nice brush. It looked so much better!
The next thing to do was paint the interior of the chest and lid. The chest was lined with old ivy paper and I just wasn't feeling it.
 |
| No more ivy! |
Before I could attach the new feet, I had to take off the last one. Three of them came off easily, but the fourth one would not budge! I got really creative in trying to get it loose. I used the dremel to get some separation between the chest and the foot. It kind of helped, especially when I started to chisel away at the foot. Eventually, I got enough leverage and unscrewed the foot. Next up, was adding the pretty new feet!
We did have a small problem with the new feet. The bolts that they came with were too big and really short. At this point, I was ready to just glue them on and call it good. (I was really ready to be done with this project). I told Jonathan about my plan, and he told me that we should get the proper sized bolts because we needed to it the right way. I'm glad that we did it the right way. It was worth it.
 |
| Using the drill press to make deeper holes. |
My favorite part of working on the chest was figuring out where the knobs would go. It took about two dozen different combinations and then we found the perfect fit!
 |
| The first try! |
 |
| They are so very pretty!!! |
One of the finishing touches on the chest was trimming the bolts on the knobs. It took so long, but it made it so much easier to fill the chest with all of our games.
When I started, the head of the dremel looked like the one on the left. I used one and a half heads to cut through all the bolts.
 |
| The extra pieces of bolts. |
The chest was finally done!!! All we needed to do was move it back home.
 |
| My baby finally came home!!! |
Our chest is now the home of all of the games we rarely play. I have storage in the closet again!
 |
| Our tv looks so much better now that it's off of the floor. |
I am so glad that this long project is finally done and it looks so good. It was quite an adventure with all of the steps and now I feel like I can tackle another furniture project. Watchout coat rack, you're next!